Showing posts with label White Pearl String. Show all posts

Friday, 25 August 2017

Baby card

Hi crafters!

It's me, Cathrine here today to show you my latest project using gorgeous products from Wild Orchid Crafts. 

I have been using some flowers and berries that I got a while ago, but I found them hard to use. I love them, but have been struggling to make them fit for my cards. This time I decided to give it a good try, and finally I made a card with these sweet flowers!


I hope you liked my baby card.

Thank you for stopping by :-)
Love from Cathrine.
Wild Orcid Craft products:

PRETTY FLORI MULBERRY PAPER FLOWERS - MIXED WHITE (MKX-392)
PRETTY FLORI MULBERRY PAPER FLOWERS - PASTEL ANEMONE (MKX-326)
2.2 Yards (2 METRE) WHITE PEARL STRING-4mm (MKX-533)
40 PINK FROSTED BERRY SPRAY (MKX-264)

Wednesday, 26 July 2017

''romantic dress'' by Sandra Bernard

HI!!

I have try to make something different again today...I played with cardstuck and flowers to make a romantic dress...just for fun!

I used white and old pink flowers to create that dress...hope you like it.


all flowers/pearl are available at WOC store:

here's my list:

50 WHITE MULBERRY PAPER MAGNOLIAS QVR-028
5 PALE PINK GARDENIASMKX-082
50 DEEP IVORY MULBERRY PAPER CHERRY BLOSSOMSMKX-055
50 PALE PINK MULBERRY PAPER CHERRY BLOSSOMS MKX-050
100 MINIATURE MIXED PINK SWEETHEART BLOSSOM FLOWERSMKX-256
2.2 Yards (2 METRE) WHITE PEARL STRING-4mm MKX-533

thanks 
san xx


      Tuesday, 19 January 2016

      Gift Box for Baby Girl - Tutorial

      Hi!
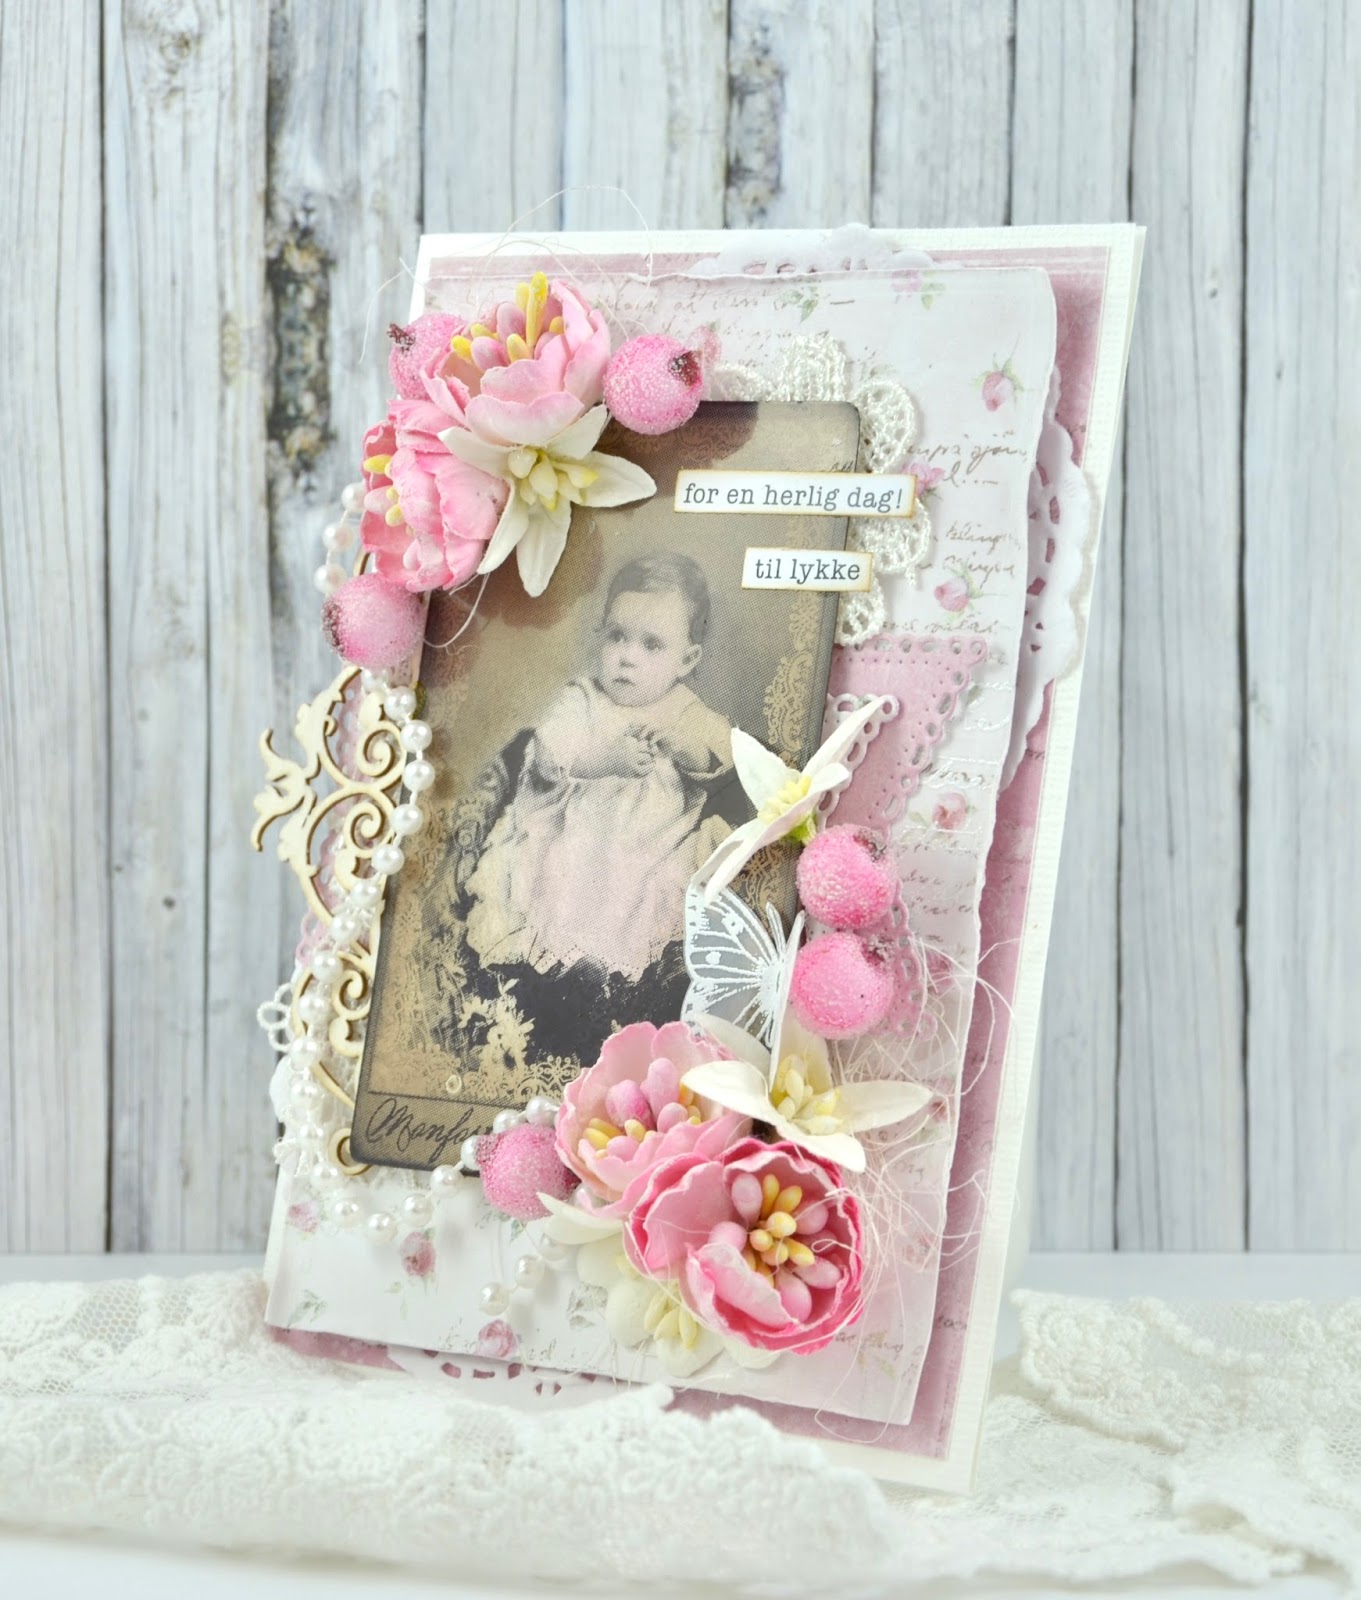
      Here I will show you how to make a gift box for baby girl. (Scroll down).
      I warn you - this is a long post... ;)


      All flowers and embellishments are from Wild Orchid Crafts. 


      This box measures 10 x 10 cm and is 4 cm tall.


      Materiallist from Wild Orchid Crafts:
      Wild Rose Pale Pink 30mm QVR-035
      Trellis Roses Pink Tone 35mm MKX-092
      Rosebuds Pink/Ivory 4mm GST-010
      Hip Rosebuds  Pale Pink GST-060
      Pearl String White 4mm MKX-533
      Self Adhesive Pearls White 5mm MKX-322

      Tutorial:
      Start with a cardboard at 18 x 18cm.
      Make a score 4 cm from the edges as shown below.
      Fold and clue together (A on B).
      Cut a cardboard at 14 x 10 cm, score at 4cm as shown below. 
      This will become the lid.
      Cut patterned paper as shown below.
      Glue the patterned paper around the box and glue the lid ( A on B) on as shown below.
      Cut a cardboard as shown below.
      Cut a patterned paper as shown below.
       I add a thin layer of Gesso around the edges.
      Glue patterned paper on the cardstock.
        
      Glue on as shown below.
      Cut a cardboard at 11 x 11cm. This will become the bottom. 
      Glue the box onto it as shown below.

      Cut out three circles with a die.
      I use a little bit of pink in on the white circles of cardboard. 
      I attach some 3D-dots on the biggest circle and glue the other two circles onto it. 
      Then I glue this on to the top.
      I attach pearl bands at the bottom around the edges and on the top of the box as shown below. 
      Then I glue on a little baby figurine and start decorating the box with some flowers.
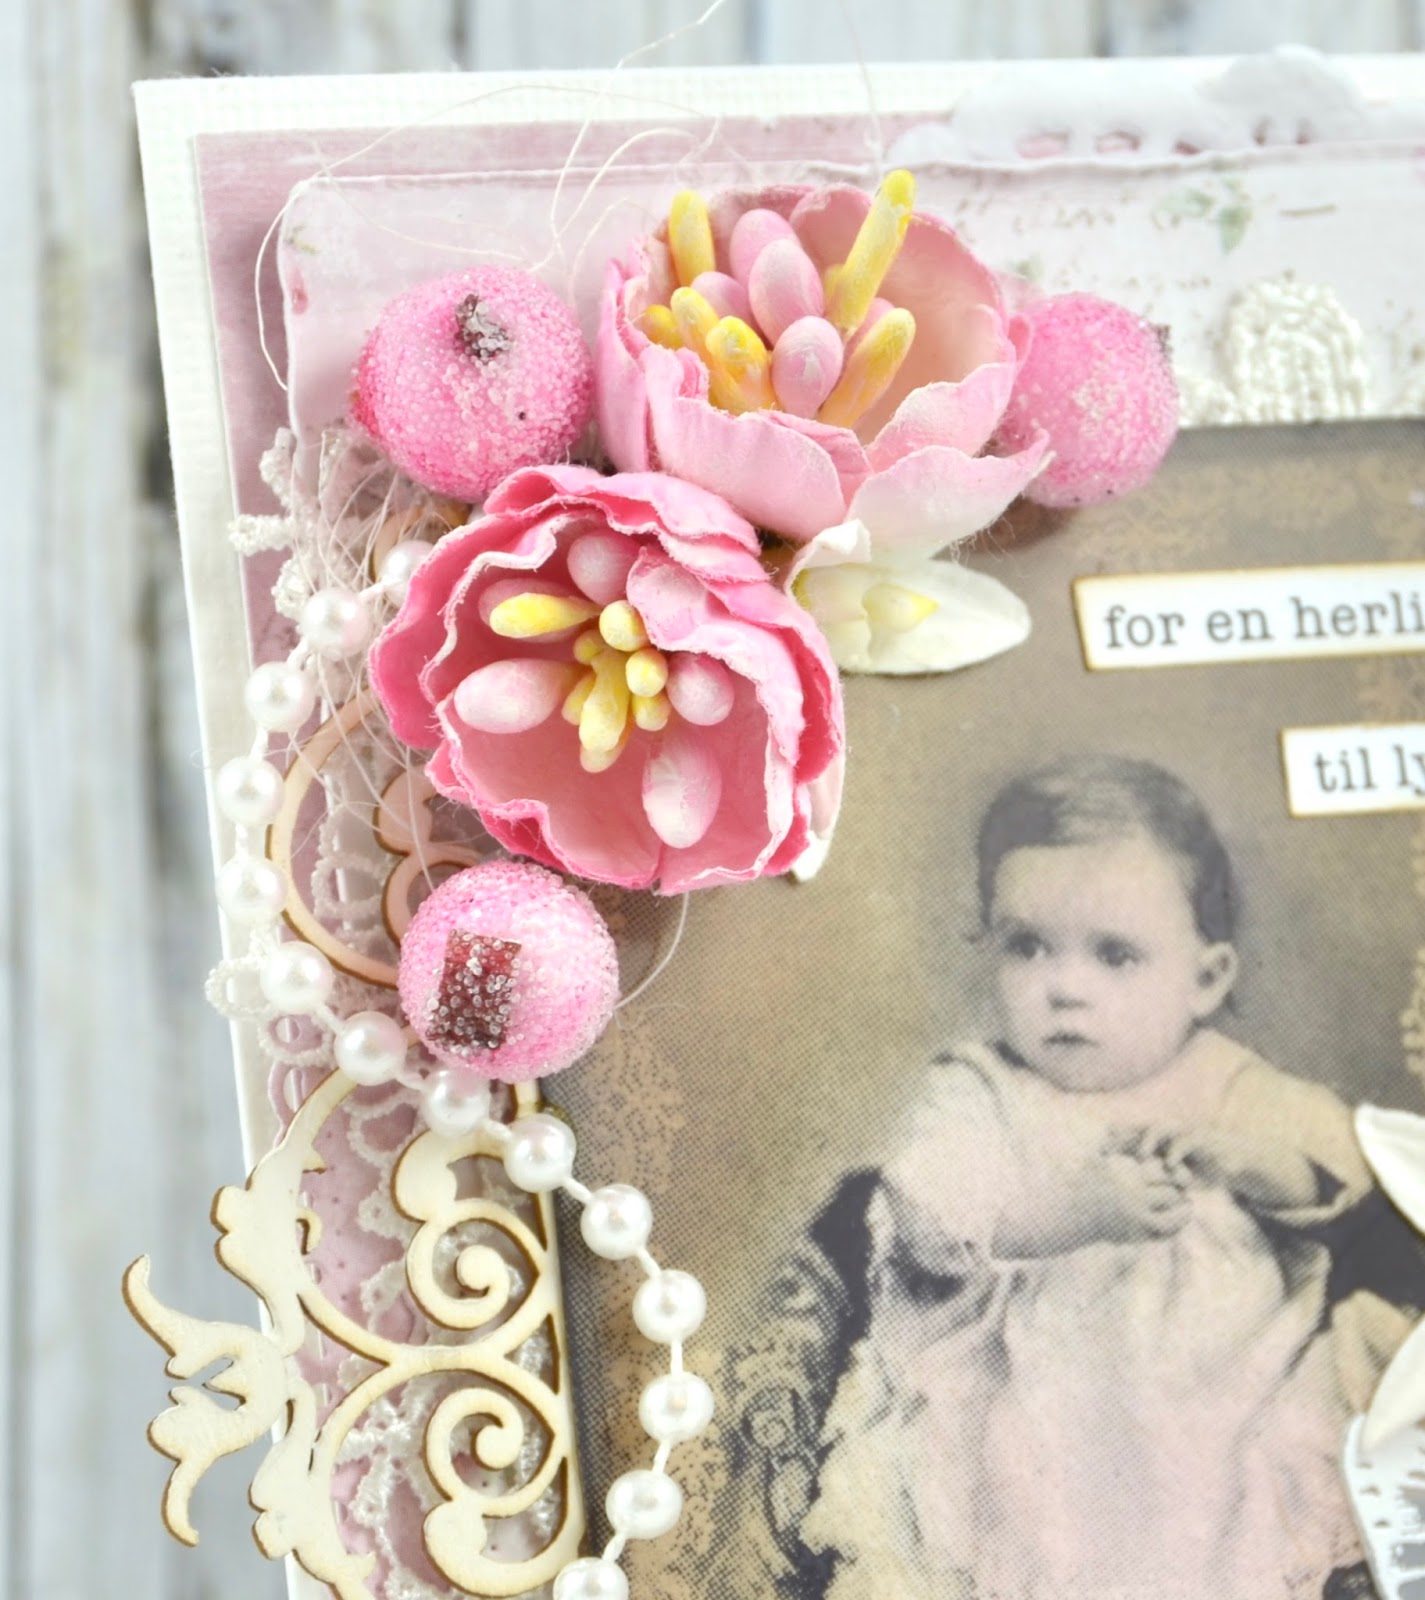
      I always start with the biggest flower first.
      Then I attach smaller and smaller flowers as shown. 
      The last thing I do is adding a thin layer of "Frost" (Snow Writer and Star Dust).
      I also glue the pearl band around the baby figurine.
      I have used dies from Sizzix (leaves).
      At the end I attach a gratulation-greeting on the box and than attach som half pearls onto it. 

      Hope you like it!
      Randi

      Tuesday, 10 November 2015

      Picnic Box Tutorial

      Hi!
      Here I will show you how to make a picnic box. (Scroll down).


      All flowers, leavs and embellishments are from Wild Orchid Crafts


      Start with a cardstock at 16 x 22cm.
      Cut out triangles 3cm from the edges. Fold the cardstock as shown under the picture and glue together. 


      Cut a cardstock (A) at 2 x 16 cm.


      Glue A on.


      Cut a cardstock 22,5cm x 11 cm.
      Fold the cardstock as shown on the picture and glue together. 


      Cut a cardstock 10,5 x 16,5cm.
      Glue it under the box.

      To keep the lid shut I attach a magnet as shown on the pictures under.


      Outside and inside the box.


      Cut out:


      Glue on


      Handle
      Cut out:


      Glue A on B.

      The handle is fastened with a brad after making holes into both the box and the handle.


      I decorate with pearl string all around at the bottom of the box and on the handle.
      I then decorate with flowers and bling on both sides.


      The last thing I do is adding a thin layer of "Frost" and Star Dust.


      Hope you like it!

      Hugs

      Materiallist from Wild Orchid Crafts:
      Wild Rose Pale Pink 3mm QVR-035
      Gardenia Flowers Miniature Mixed Pink MKX-275
      Trellis Roses Pink Tone 35mm MKX-092
      Open Roses 2-Tone Baby Pink/Ivory 15mm MKX-009
      Rosebuds 2-Tone Baby Pink/Ivory 4mm GST-010
      Pearl Brads Mixed Colour Large MKX-226
      Pearls In A Gold Circle MKX-365
      Pearl String White 4mm MKX-533
      Self Adhesive Rhinestones Pink MKX-516
      Rose Leavs Green 15mm MKX-441
      Rose Leavs Green 25mm MKX-440