Showing posts with label Self-adhesive rhinestones. Show all posts

Thursday, 4 January 2018

You deserve flowers!

Happy New Year everyone!

It's me, Cathrine here today and I have made this card that says "You deserve flowers". The text is perfect for this card with lot's and lot's of delightful flowers from Wild Orcid Crafts ;-) I was also so lucky to receive some of the new wooden die cuts keys! They are adorable! I have been using one of them here on my card today. I embossed it with fran-tàge shabby embossing enamel, and I love how it turned out. 


Thank you for stopping by today! I hope you got inspired :-) Be sure to check out the winter sale on Wild Orcid Crafts online store!

Love from Cathrine.

Products

Tuesday, 9 August 2016

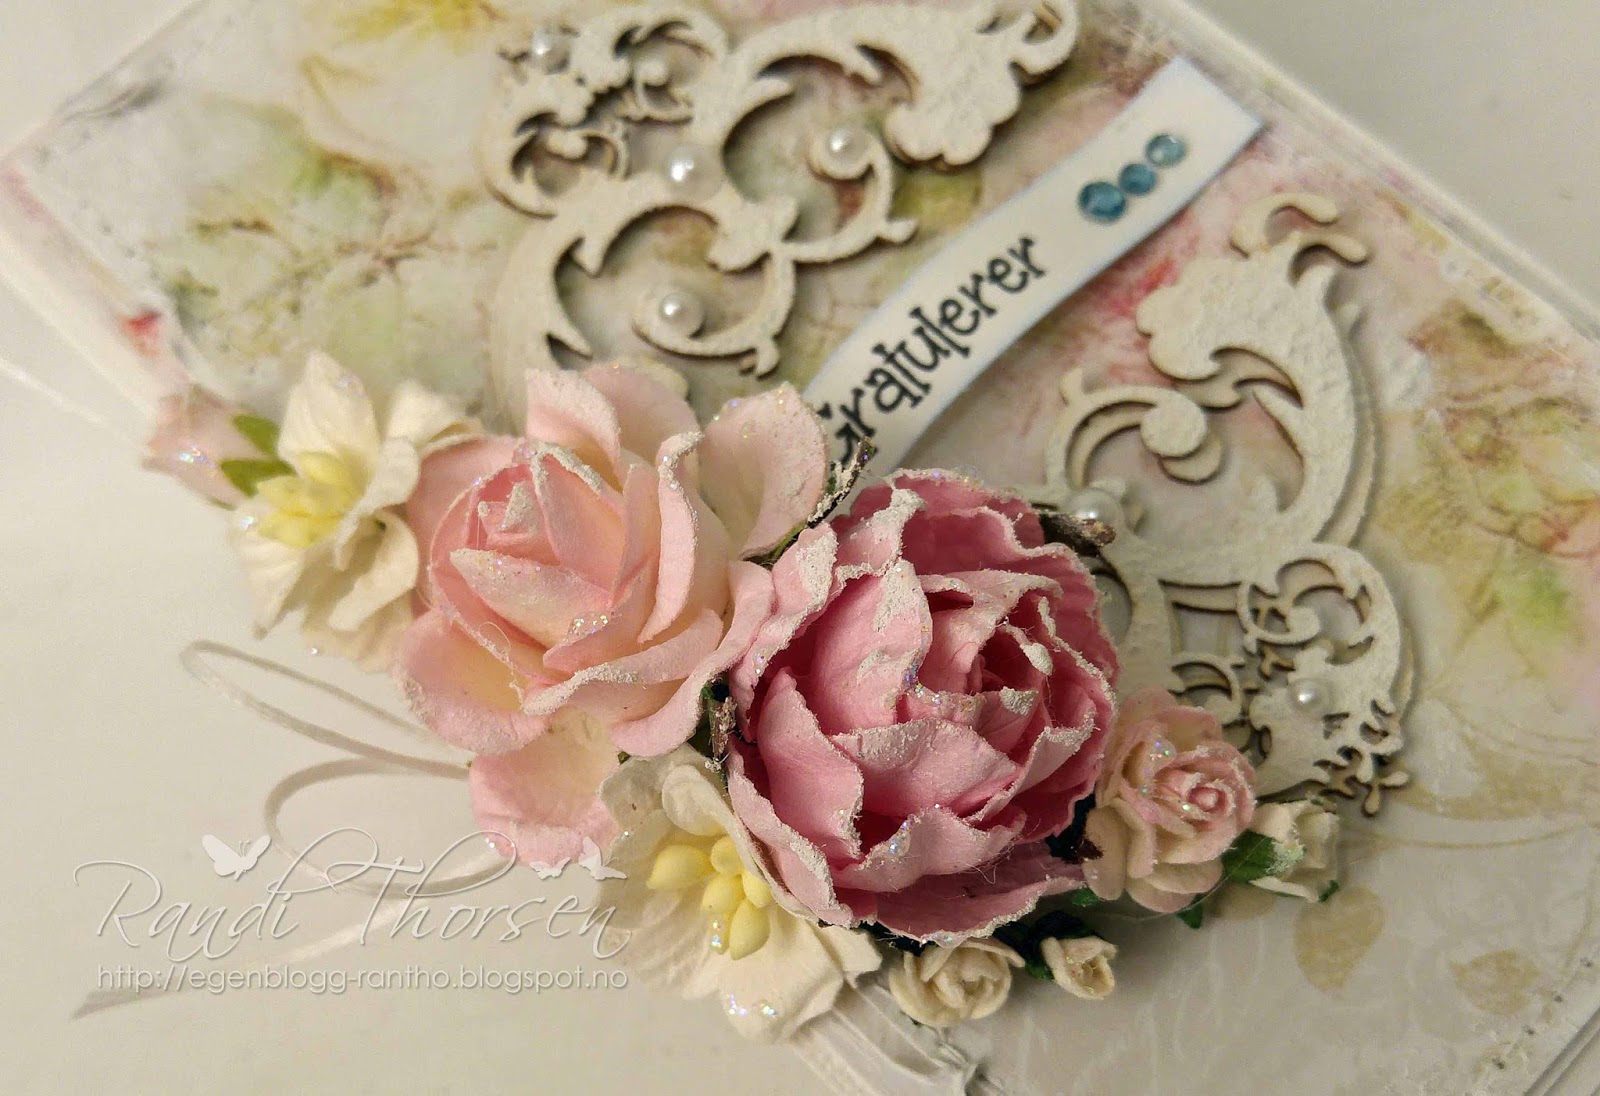
Shabby Chic Card

I just love soft light colors, and shabby chic.
And here is a shabby chic card from me.


All flowers and embellishments are from Wild Orchid Crafts


Have a great day!


Materiallist from Wild Orchid Crafts:
Apple Blossoms White MKX-625
Trellis Roses Pink Tone 35mm MKX-092
Wild Roses Pale Pink 30mm QVR-035
Engligh Roses Mixed Pink MKX-324
Rosebuds Ivory 8mm GST-004
Open Roses 2-Tone Pink 15mm MKX-068
Hip Mulberry Rosebuds Pale Pink GST-060
Rosebuds Ivory 4mm GST-004
Self Adhesive Pearls White 3mm MKX-506
Self Adhesive Pearls White 5mm MKX-496
Self Adhesive Rhinestones Baby Blue MKX-519
Cutout Set Corner Ornaments GST-055

Tuesday, 10 November 2015

Picnic Box Tutorial

Hi!
Here I will show you how to make a picnic box. (Scroll down).


All flowers, leavs and embellishments are from Wild Orchid Crafts


Start with a cardstock at 16 x 22cm.
Cut out triangles 3cm from the edges. Fold the cardstock as shown under the picture and glue together. 


Cut a cardstock (A) at 2 x 16 cm.


Glue A on.


Cut a cardstock 22,5cm x 11 cm.
Fold the cardstock as shown on the picture and glue together. 


Cut a cardstock 10,5 x 16,5cm.
Glue it under the box.

To keep the lid shut I attach a magnet as shown on the pictures under.


Outside and inside the box.


Cut out:


Glue on


Handle
Cut out:


Glue A on B.

The handle is fastened with a brad after making holes into both the box and the handle.


I decorate with pearl string all around at the bottom of the box and on the handle.
I then decorate with flowers and bling on both sides.


The last thing I do is adding a thin layer of "Frost" and Star Dust.


Hope you like it!

Hugs

Materiallist from Wild Orchid Crafts:
Wild Rose Pale Pink 3mm QVR-035
Gardenia Flowers Miniature Mixed Pink MKX-275
Trellis Roses Pink Tone 35mm MKX-092
Open Roses 2-Tone Baby Pink/Ivory 15mm MKX-009
Rosebuds 2-Tone Baby Pink/Ivory 4mm GST-010
Pearl Brads Mixed Colour Large MKX-226
Pearls In A Gold Circle MKX-365
Pearl String White 4mm MKX-533
Self Adhesive Rhinestones Pink MKX-516
Rose Leavs Green 15mm MKX-441
Rose Leavs Green 25mm MKX-440

Tuesday, 6 October 2015

Card

Hallo everyone!
Today I want to share with you a pink card.


Inside the card.


Hugs,

Materiallist:
Engligh Roses Pink MKX-324
Gardenia Flowers Miniature Pink MKX-275
Sweetheart Blossom Miniature MKX-265
Open Roses White 10mm MKX-016
Rosebuds White 4mm GST-003
Rosebuds White 8mm GST-003
Adhesive Pearls White 3mm MKX-506
Adhesive Rhinestones Clear MKX-321
Cutout GST-067

Tuesday, 21 July 2015

Giftbox

Hi everyone!
Today I will show you a giftbox.
 
 
I have used beautiful flowers, leavs and embellishments from Wild Orchid Crafts.


Hope you like it.
Thank you for stopping by!
Hugs,

Materiallist from Wild Orchid Crafts:
Trellis Roses Mixed Pink Tone 35mm MKX-092
Rosebuds Pale Pink 4mm GST-007
Open Roses White 20mm MKX-013
Pearl String White 10mm MKX-613
Rose Leavs Green 25mm MKX-440
Adhesive Rhinestones Pink MKX-516
Rose Leavs 10mm MKX-441

Tuesday, 26 May 2015

Box filled with chocolates - And step by step

Today I will show you, step by step, how I’ve decorated this tin can which I’ve filled with delicious chocolate hearts. 


 I have decorated with flowers and rhinestones from Wild Orchid Crafts.
 
 
I'v also used  white Pears Stamens.


Hugs,
 

HERE IS THE TUTORIAL:
1. Cut open the bottom of the tin can. 
 
 
2. Draw a circle around the can (about 1 cm wider than the size of the can) and cut it.

 
 3. Cut out.
 
4. Place the circle shaped paper under the can and draw another circle around the can.


5. Cut around the circle as shown in the picture.

 
6. Fill the can with chocolate.
 
 
7. Glue the circle on as shown in the picture.

 
8. Cut a circle from a hard and strong cardboard which should cover the bottom of the can and glue this on.

 
9.  Cut a piece of patterned paper that covers the whole tin can.

 
 10. Glue on.
 
If you wish to have a lid on your can this is what you do:

1. Cut a cirlcle 0,5 cm wider than the can. Cut a shred at about 3 cm wide and 1 cm longer than the size of the can.
 
 
2. Cut as shown in the picture.

 
3. Glue as shown under.  Use the same procedure when adding patterned paper.


Now your tin can is ready to be decorated!
 
Good luck!


Products from Wild Orchid Crafts:
Rosebuds Blue Tone 4 mm MKX-251
Rosebuds White 8 mm GST-003
Rosebuds Ivory 4 mm GST-004
Wild Roses Blue/Aqua/White 30 mm QVR-012
Pearls Stamens White MKX-565
Rhinestones Baby Blue MKX-519